React.js Integration Guide
This guide will walk you through integrating MonoCloud with a React application using the oidc-react library.
Following are the general steps required to integrate MonoCloud into a React application. Refer to the detailed explanation for each step to learn more.
- Configure MonoCloud
- Sign up for a MonoCloud account.
- Create a new client with the Single Page Application preset and configure it with specific settings like scopes and URIs.
- Create the React Application
- Use Vite to create a new React application with TypeScript support.
- Install the OIDC React Library
- Install the
oidc-reactlibrary in your React project.
- Install the
- Configure the Port
- Configure the the vite.config.ts file to run the server on port 3000.
- Get Environment Variables
- Log in to the MonoCloud Dashboard and obtain the Tenant Domain and Client ID from the General Settings of your client.
- Add Components and Code
- Create a React component,
Header.tsx, which handles user authentication using theoidc-reactlibrary's React hook. - Configure your main application file,
App.tsx, with the AuthProvider component, specifying the OIDC client settings.
- Create a React component,
- Run the App
- Start the development server and access your application in a web browser.
Configure MonoCloud
Sign Up with MonoCloud
To get started with integrating authentication in your React.js application, you'll need to:
- Sign up for a MonoCloud account. Once you're signed up with MonoCloud, you can configure the required application settings to integrate with MonoCloud.
- Create a Project in the MonoCloud Dashboard:
- Enter your Project name, Domain name, and select your Preferred region.
- Click Create Project.
Add a New Client in MonoCloud
To use MonoCloud, you need to set up a client in the MonoCloud Dashboard. A client in MonoCloud represents an application within a Project and includes essential configuration details required for integrating that application with MonoCloud.
Follow the steps below to add a new client to the MonoCloud Dashboard:
- Go to Clients.
- Click Add Client.
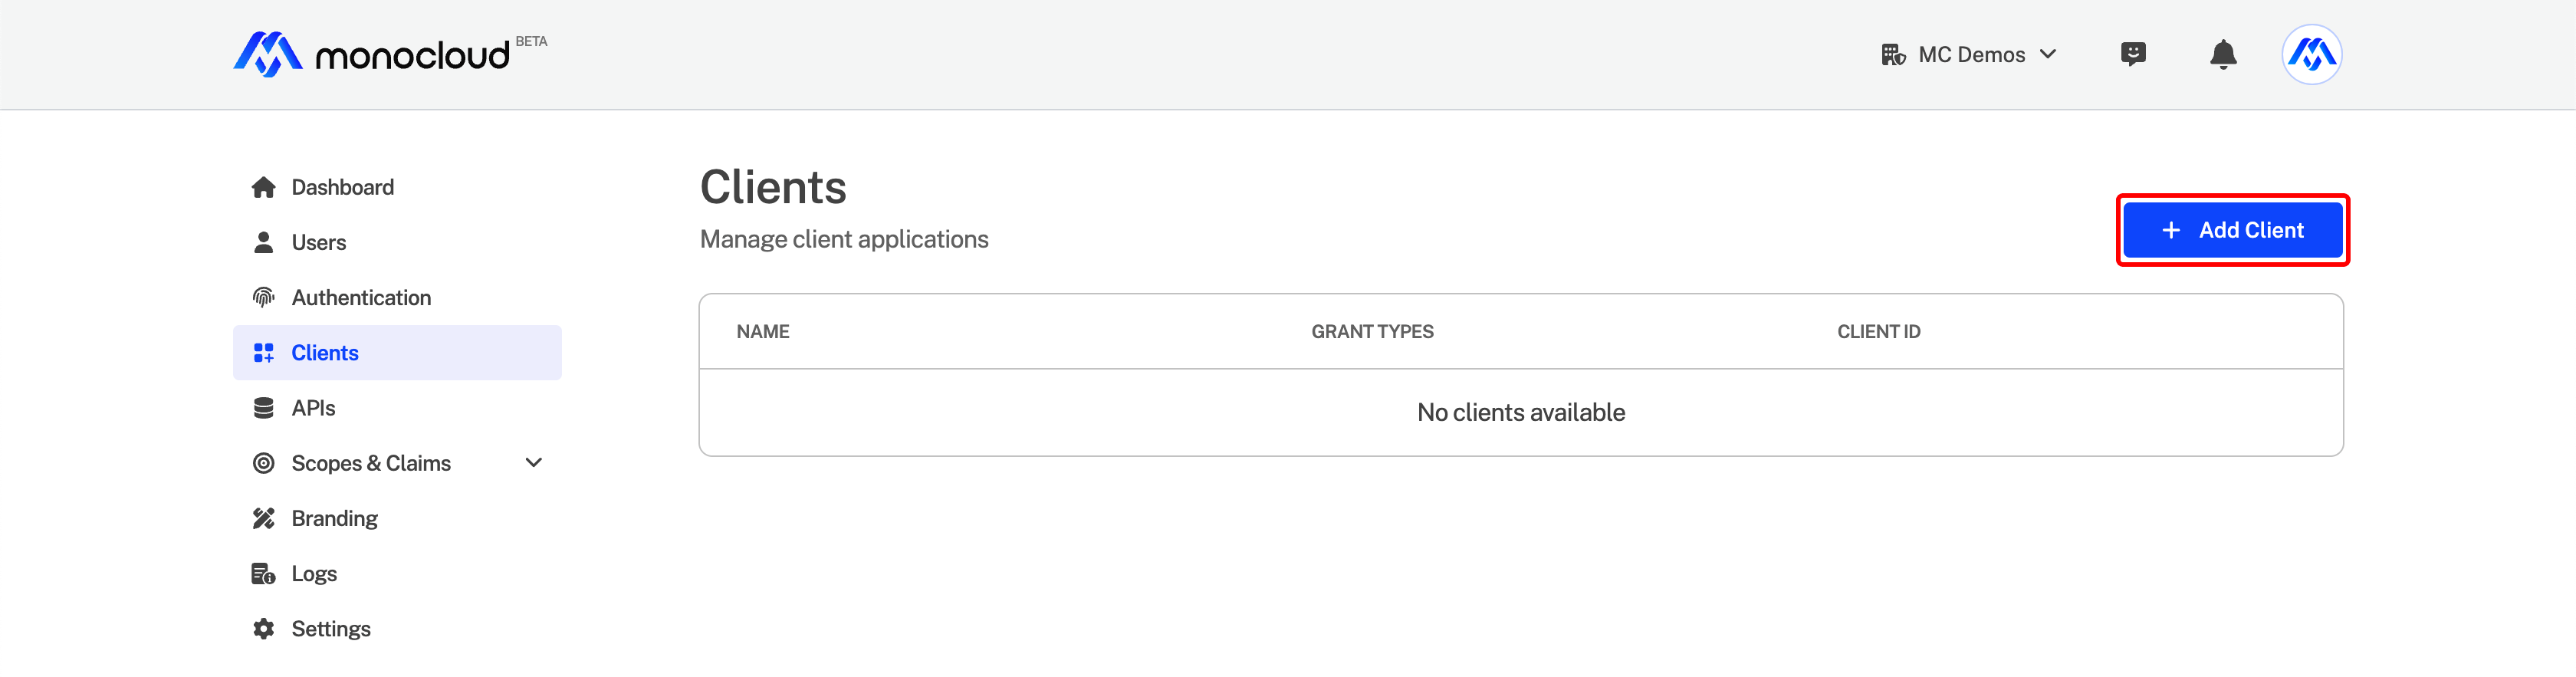
- Enter a Client Name.
- Select Single Page Application as the application type.
- Click Save Changes.
Configuring Client Settings in MonoCloud
Once you've added a new client in MonoCloud, you'll need to configure the following settings to integrate your application with MonoCloud:
- Callback URIs: This is the address where the users are redirected to after successful logins
- Sign-out URIs: This is the address where the users are redirected after they've signed out.
- Cross-Origin URIs indicate any origins (domain, scheme, and port) from where a browser should permit loading resources.
- Scopes: defines what specific user information or resources the client application can access once a user is authenticated.
Follow the steps below to configure these settings in MonoCloud:
- Go to the MonoCloud Dashboard > Clients.
- Click on the application's name.
- In the URLs section:
- Enter the Callback URI and click the
+button.
http://localhost:3000 to test the configuration locally.
- Enter Sign-out URI and click the
+button.
http://localhost:3000 to test the configuration locally.
- Enter Cross Origin URI and click the
+button.
http://localhost:3000 to test the configuration locally.
- In the Allowed Scopes section, select the scopes required. In this example, we will select
openid,profile, andemailIdentity scopes.
Setup a React Project
To create a React app, follow these steps:
Open your terminal and create a new project using Vite by executing one of the following commands, depending on your package manager:
npm create vite@latest quickstart -- --template react-ts
This creates a new Vite project with the given name and uses the react-ts template to create a React application using Typescript.
Install the OIDC React Library
In this example we will use the oidc-react library to authenticate users in your application. You must install the oidc-react library in your react project by following the steps below:
- Navigate to the newly created project.
cd quickstart
- Install the
oidc-reactlibrary in your project, by executing the following command:
npm install oidc-react
Configure the Port for the Development Server
Follow the steps below to configure the development server to run on port 3000:
- Go to your newly created react project and open
vite.config.ts. - Add the highlighted code in the
vite.config.tsfile:
import { defineConfig } from 'vite';
import react from '@vitejs/plugin-react';

// https://vitejs.dev/config/
export default defineConfig({
  plugins: [react()],
+  server: {
+    port: 3000,
+  },
});
Integrate MonoCloud into your React Application
To ensure successful integration of MonoCloud in your app, you must set up the AuthProvider component from oidc-react in your React application.
Get the Environment Variables
The AuthProvider component requires the values for the following variables:
authorityandclient_Id: These properties should match the Tenant Domain and Client ID found in the General Settings section of your registered client.
To retrieve these values, follow the steps below:
- Go to the MonoCloud Dashboard > Clients.
- Click on the client's name.
- From the General Settings section, copy the Tenant Domain and Client ID values.

Configure the AuthProvider Component
Follow the steps below to configure the AuthProvider component:
- In your React application, create a file
Header.tsxunder thesrcfolder and paste the following code:
import { useAuth } from 'oidc-react';

const Header = () => {
  const auth = useAuth();

  return (
    <div style={{ padding: '40px' }}>
      {auth.userData ? (
        <>
          <h3>Logged in as {auth.userData?.profile.email} 🎉</h3>
          <button
            onClick={() =>
              auth.signOutRedirect({ id_token_hint: auth.userData?.id_token })
            }
          >
            Log out!
          </button>
        </>
      ) : (
        <>
          <h3>Not Logged in!</h3>
          <button onClick={() => auth.signIn()}>Log In!</button>
        </>
      )}
    </div>
  );
};

export default Header;
The code creates a React functional component Header that uses the oidc-react library's useAuth hook to get the current user's session and display the user's current state.
- Open the
App.tsxfile under thesrcfolder, and update the existing code with the following code.
import { useState } from 'react';
+import { AuthProvider, AuthProviderProps } from 'oidc-react';
import reactLogo from './assets/react.svg';
import viteLogo from '/vite.svg';
+import Header from './Header';
import './App.css';

+const oidcConfig: AuthProviderProps = {
+  authority: 'https://<your-domain>',
+  clientId: '<your-client-id>',
+  redirectUri: 'http://localhost:3000',
+  postLogoutRedirectUri: 'http://localhost:3000',
+  scope: 'openid profile email',
+  responseType: 'code',
+  loadUserInfo: true,
+  autoSignIn: false,
+};

function App() {
  const [count, setCount] = useState(0);

  return (
    <>
+     <AuthProvider {...oidcConfig}>
+       <Header />
        <div>
          <a href="https://vitejs.dev" target="_blank">
            <img src={viteLogo} className="logo" alt="Vite logo" />
          </a>
          <a href="https://react.dev" target="_blank">
            <img src={reactLogo} className="logo react" alt="React logo" />
          </a>
        </div>
        <h1>Vite + React</h1>
        <div className="card">
          <button onClick={() => setCount(count => count + 1)}>
            count is {count}
          </button>
          <p>
            Edit <code>src/App.tsx</code> and save to test HMR
          </p>
        </div>
        <p className="read-the-docs">
          Click on the Vite and React logos to learn more
        </p>
+     </AuthProvider>
    </>
  );
}

export default App;
redirectUri and postLogoutRedirectUri is consistent with the value of the Callback URIs and Sign out URIs in MonoCloud.
Run the App
You are now ready to start your application's development server by running the following command:
npm run dev
Access the application
You can now access your application from your web browser. Go to http://localhost:3000 to access your application.
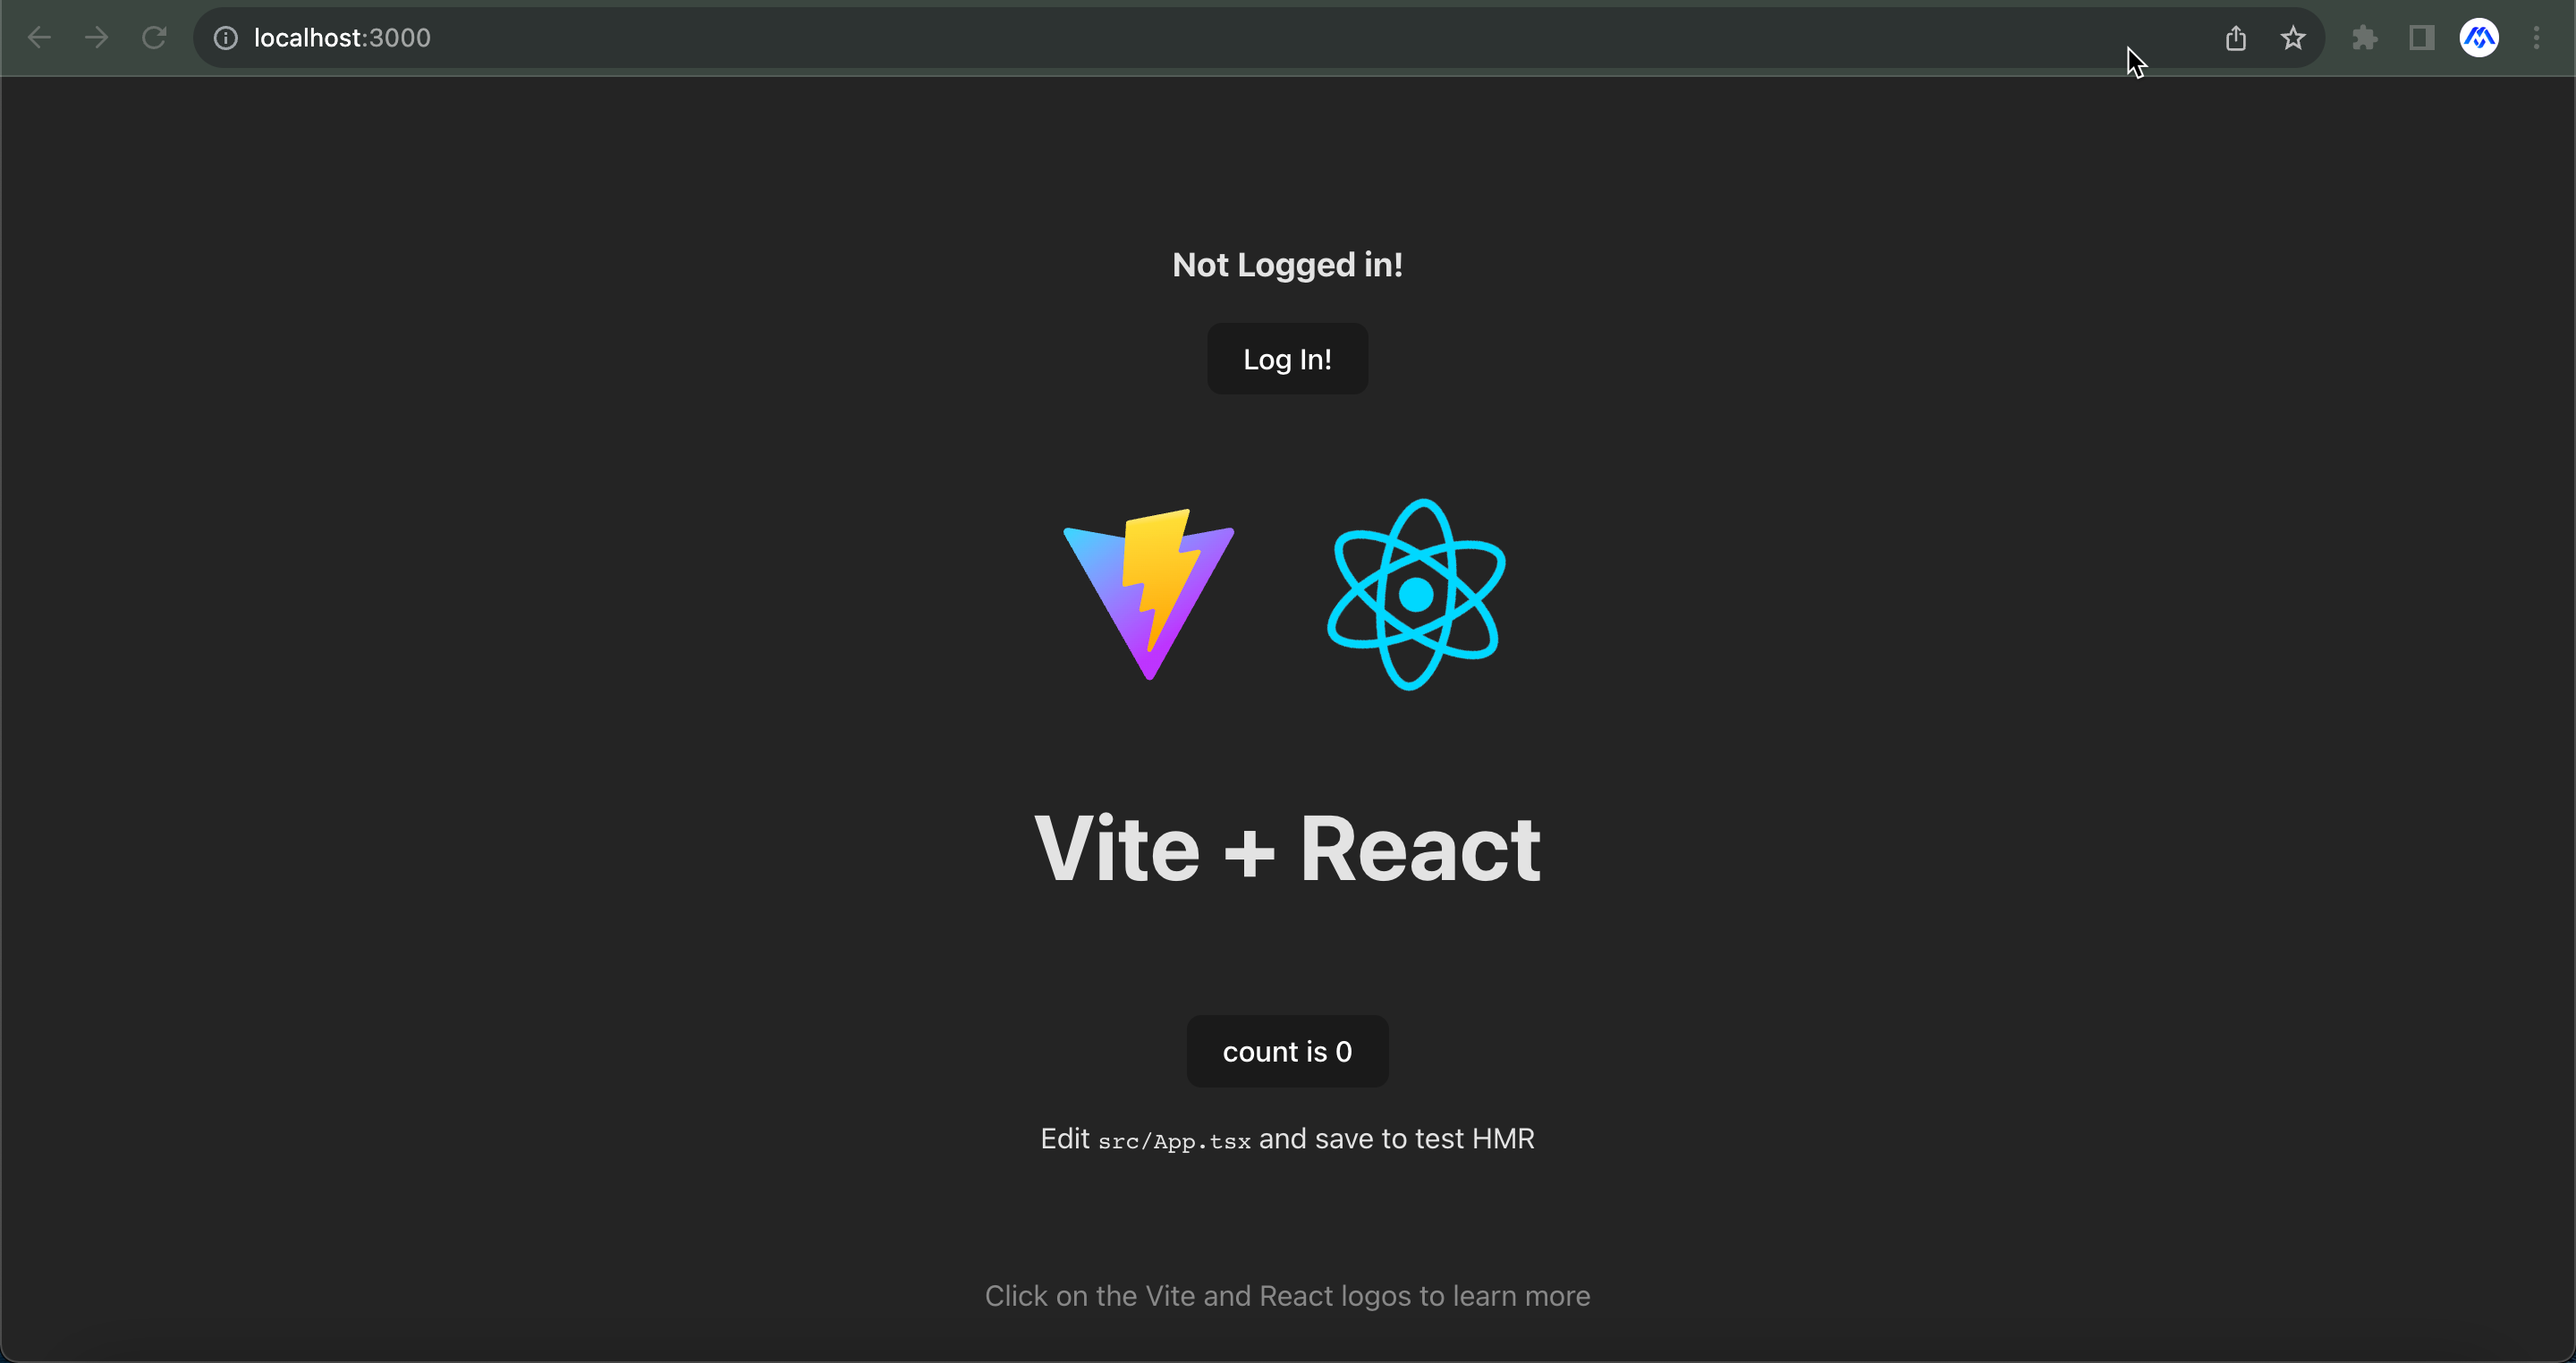
When you click the Login button you will be directed to the MonoCloud login page. After completing the sign-up process, you will gain access to the application.
You can view the registered users from the Users section in the MonoCloud Dashboard.
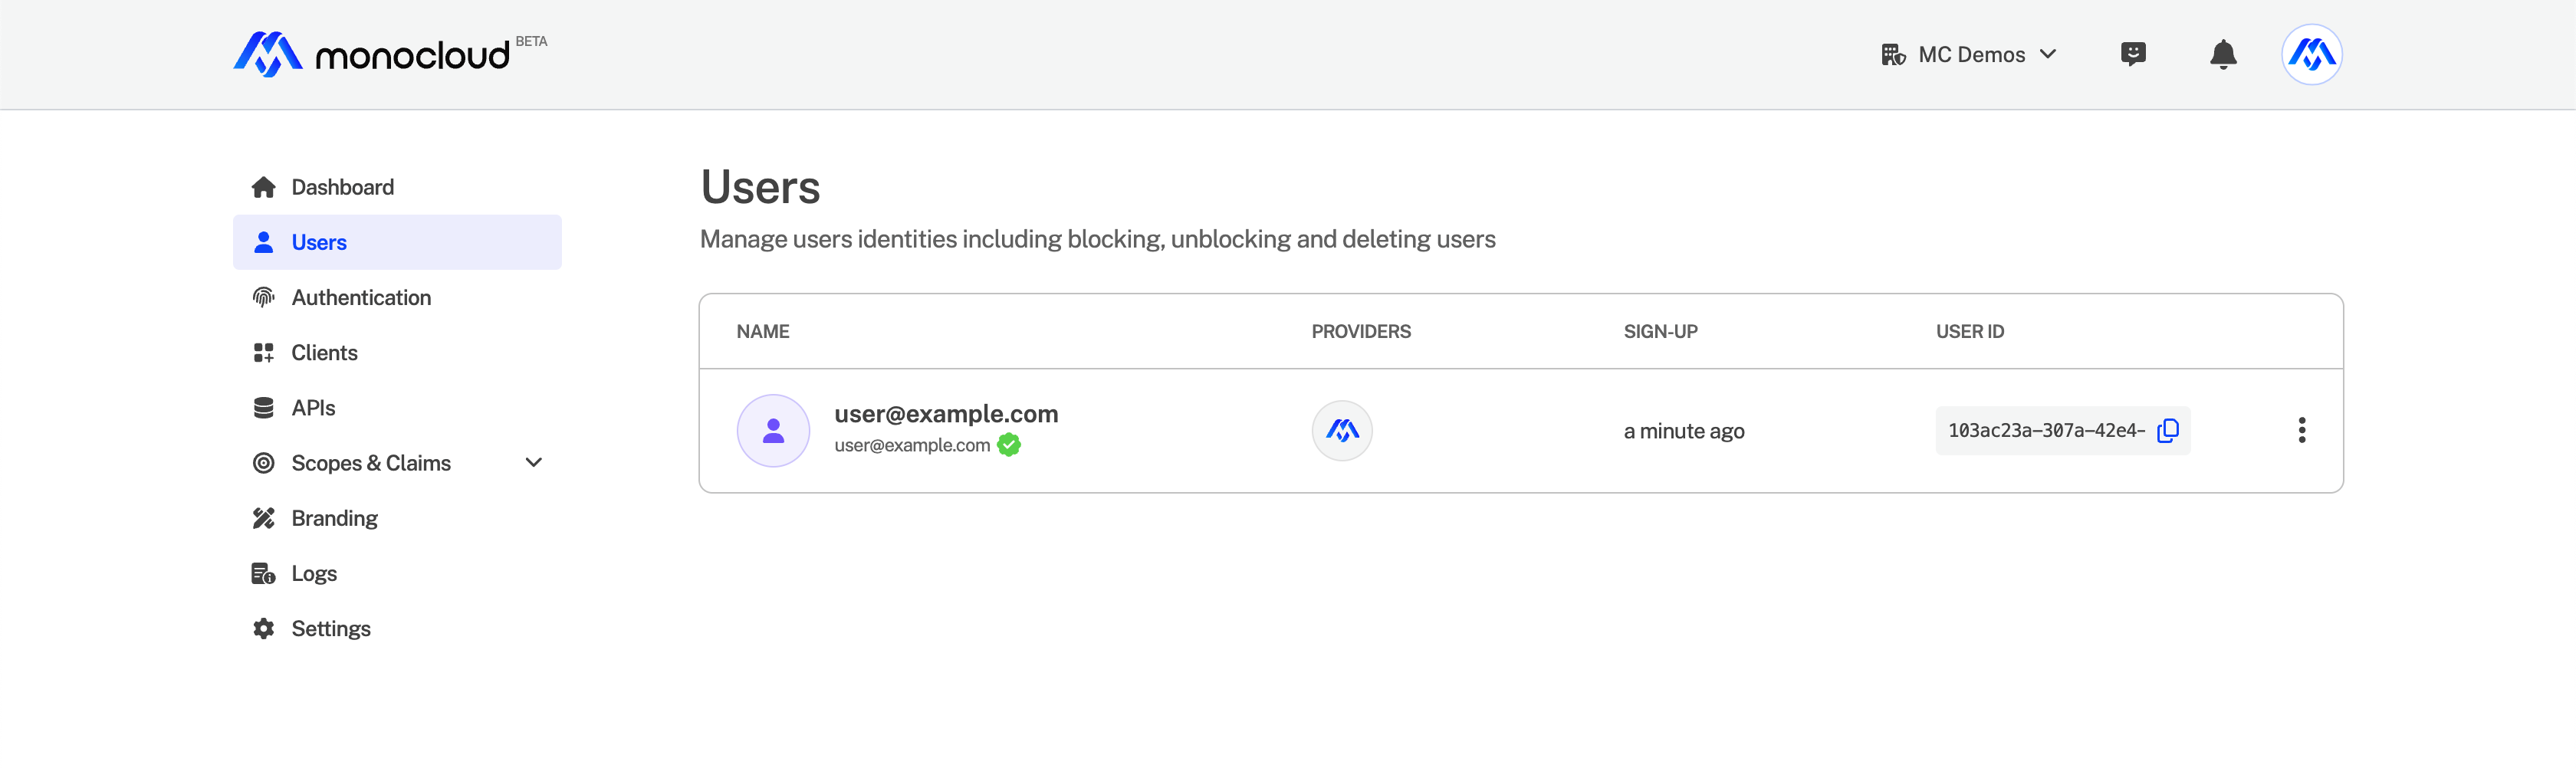
Well done! You have now established secure user authentication in your React project.