Next.js Integration Guide (App Router)
This guide explains the steps required to integrate MonoCloud into your Next.js (App Router) application using the NextAuth.js library.
Here are the general steps necessary to integrate MonoCloud into a Next.js application. Refer to the detailed explanation for each step to learn more:
- Configure MonoCloud
- Sign up for a MonoCloud account.
- Create a new client with the Web Application preset and configure it with specific settings like scopes and URIs.
- Create the Next.js Application
- Create a new Next.js application with default settings.
- Install the NextAuth.js Library
- Install the
NextAuth.jslibrary in your project.
- Install the
- Get Environment Variables
- Log in to the MonoCloud Dashboard and obtain the Tenant Domain, Client ID, and Client Secret from the General Settings of your client.
- Set Environment Variables
- Create a new file named
.env.localto set environment variables in your local project.
- Create a new file named
- Add Login and Logout Buttons
- Create a Header component,
Header.tsx, which adds the Sign in and Sign Out buttons and displays the current state of the user using theNextAuth.jslibrary.
- Create a Header component,
- Configure the Session Provider
- Create a custom session provider
session-provider.tsx(required when using the AppRouter). - Update the main Layout file
layout.tsxto use the custom session provider and add the header.
- Create a custom session provider
- Configure the Authentication Handler
- Create a
NextAuth.jsauthentication handler in the[...nextauth]/route.tsfile and setup the options required to integrate with MonoCloud.
- Create a
- Run and Access the Application
- Start the development server and access your application in a web browser.
Configure MonoCloud
Sign Up with MonoCloud
To get started with integrating authentication in your Next.js application, you'll need to:
- Sign up for a MonoCloud account. Once you're signed up with MonoCloud, you can configure the required application settings to integrate with MonoCloud.
- Create a Project in the MonoCloud Dashboard:
- Enter your Project name, Domain name, and select your Preferred region.
- Click Create Project.
Add a New Client in MonoCloud
To use MonoCloud, you need to set up a client in the MonoCloud Dashboard. A client in MonoCloud represents an application within a Project and includes essential configuration details required for integrating that application with MonoCloud.
Follow the steps below to add a new client to the MonoCloud Dashboard:
- Go to Clients.
- Click Add Client.
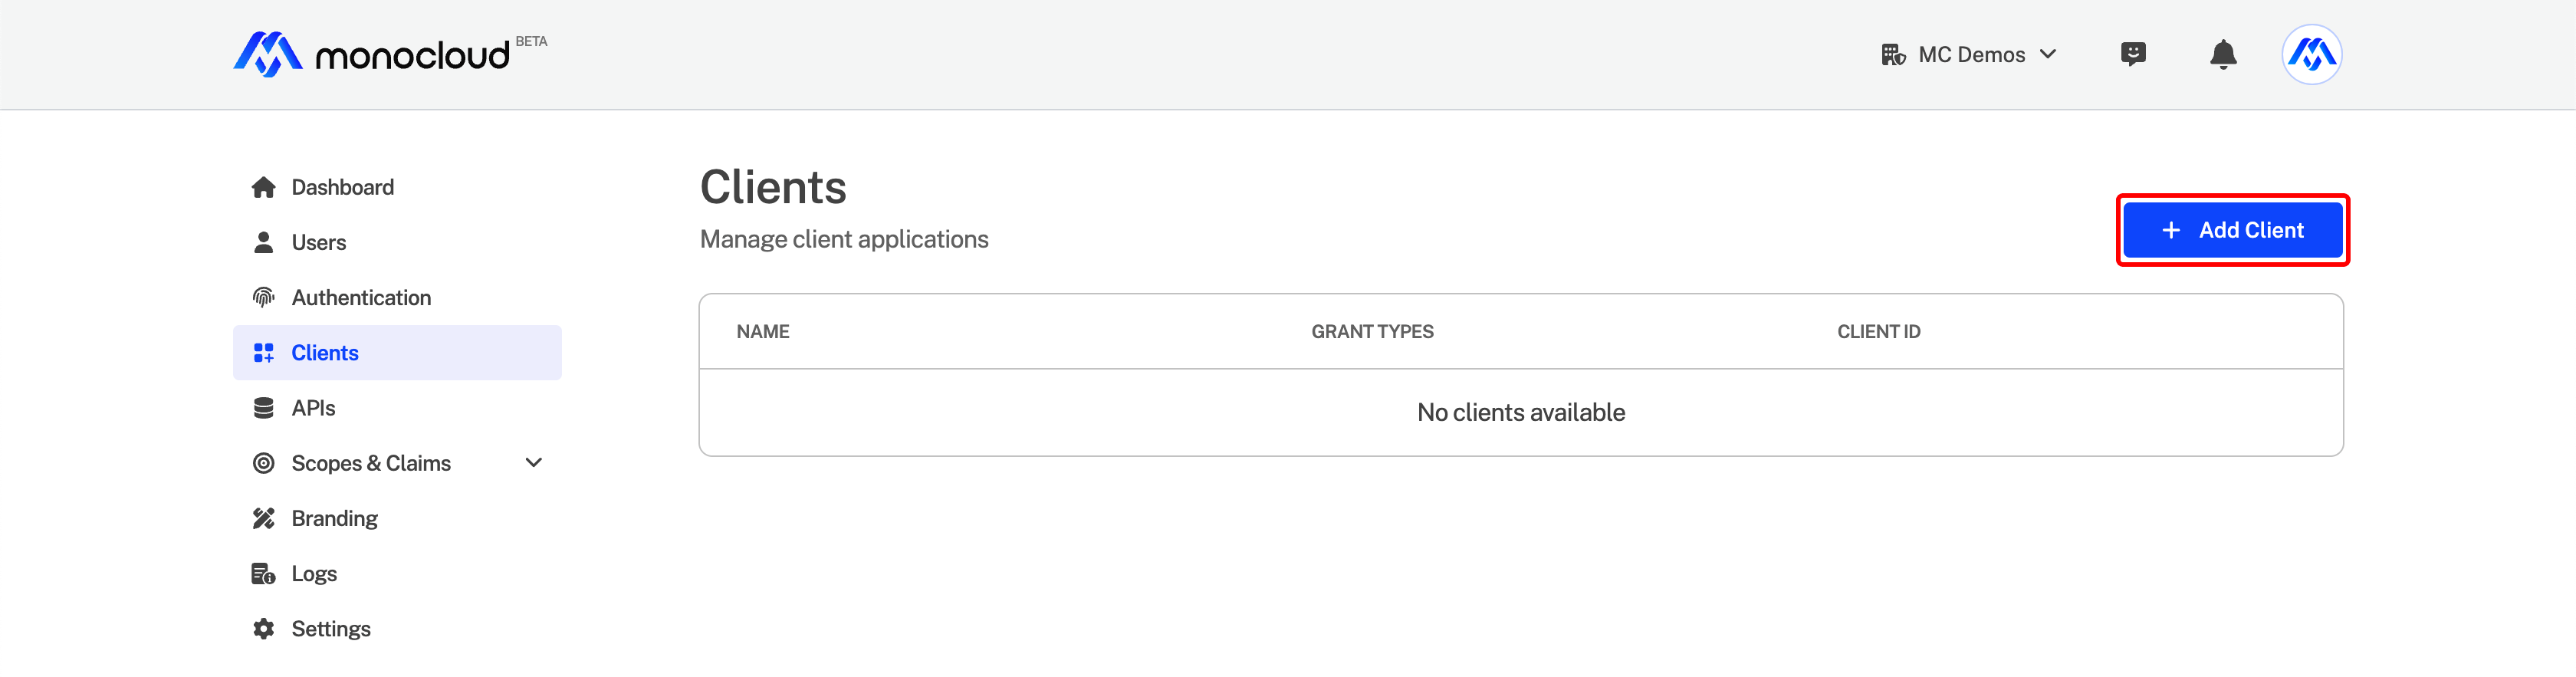
- Enter a Client Name.
- Select Web Application as the application type.
- Click Save Changes.
Configuring Client Settings in MonoCloud
Once you've added a new client in MonoCloud, you'll need to configure the following settings to integrate your application with MonoCloud:
- Callback URIs: This is the address where the users are redirected to after successful logins
- Sign-out URIs: This is the address where the users are redirected after they've signed out.
- Scopes: defines what specific user information or resources the client application can access once a user is authenticated.
Follow the steps below to configure these settings in MonoCloud:
- Go to the MonoCloud Dashboard > Clients.
- Click on the client's name.
- In the URLs section:
- Enter the Callback URI and click the
+button.
http://localhost:3000/api/auth/callback/monocloud to test the configuration locally.
- Enter Sign-out URI and click the
+button.
http://localhost:3000 to test the configuration locally.
- In the Allowed Scopes section, select the scopes required. In this example, we will select
openid,profile, andemailIdentity scopes.
Create a new Next.js Project
To create a new Next.js application, follow these steps:
Open your terminal and create a new project by executing the following command:
npx create-next-app@latest quickstart
You will be prompted to a configure few settings for your project.
- Select Yes for
Would you like to use TypeScript? - Select Yes for
Would you like to use src/ directory?. - Select Yes for
Would you like to use App Router? (recommended). - You can select Yes or No for other options, depending on your project requirements.
Install NextAuth Library
In this example, we are using the NextAuth.js library to add authentication in your application and integrate with MonoCloud. Follow the steps below to install the library:
- Navigate to the newly created project.
cd quickstart
- Install the
next-authlibrary for your project, by executing the following command:
npm install next-auth
Get the Environment Variables
To configure NextAuth.js and set up the MonoCloud authentication provider you will need to configure the provider with the following environment variables:
MONOCLOUD_ISSUER,MONOCLOUD_CLIENT_ID, andMONOCLOUD_CLIENT_SECRET: These properties should match the Tenant Domain, Client ID, and Client Secret found in your client's settings.
To retrieve these values, follow the steps below:
- Go to the MonoCloud Dashboard > Clients.
- Click on the client's name.
- From the General Settings section, copy the Tenant Domain and Client ID values.
- From the Secrets section:
- Click on the context menu (⋮).
- Click View Secret and copy the secret key.
Setup Environment Variables
In the root directory of your Next.js project, create a file named .env.local and add the following code in the file to configure the MonoCloud environment variables for your project:
MONOCLOUD_ISSUER=https://<your-domain>
MONOCLOUD_CLIENT_ID=<your-client-id>
MONOCLOUD_CLIENT_SECRET=<your-client-secret>
MONOCLOUD_SCOPES=openid profile email
NEXTAUTH_URL=http://localhost:3000
NEXTAUTH_SECRET=<your_secret>
MONOCLOUD_ISSUER: Refers to the domain of your MonoCloud project and should be replace with the Tenant Domain obtained from the previous step.MONOCLOUD_CLIENT_ID: Refers to your MonoCloud application's unique client ID. Replace<your-client-id>with the Client ID provided by MonoCloud.MONOCLOUD_CLIENT_SECRET: Refers to the MonoCloud application's secret key. Replace<your-client-secret>with the client secret obtained from the previous step.MONOCLOUD_SCOPES: Refers to the scopes that your application requires during authentication. In this example, the scopes includeopenid,profile, andemail.NEXTAUTH_SECRET: This refers to a secret key used to encrypt the user's session data. You should generate a secure and random secret key and set the value here.
Integrate with MonoCloud using NextAuth.js
Add Login and Logout Buttons
To integrate MonoCloud into your application, let's begin by adding the Login and Logout buttons. Follow the steps below to add a header component that will include these buttons:
- Create a folder named
componentswithin your project'ssrcdirectory. - In the
componentsfolder, make a new file namedheader.tsxand add the following code:
'use client';

import { signIn, signOut, useSession } from 'next-auth/react';
import Link from 'next/link';

export default function Header() {
  const { data: session } = useSession();

  return (
    <nav className="flex bg-slate-900 p-4 justify-between text-white">
      {session ? <h1>Hello {session.user?.email}</h1> : <div>Welcome</div>}

      <div className="flex gap-4">
        <Link href="/">Home</Link>
        {session ? (
          <button onClick={() => signOut()}>Sign Out</button>
        ) : (
          <button onClick={() => signIn('monocloud')}>Sign in</button>
        )}
      </div>
    </nav>
  );
}
This code adds a Header with Login and Logout button based on the user's authentication state. If a user is not authenticated, a Login button is rendered. When users click this button, they will be redirected to the MonoCloud Login Page, where the user authentication will be processed. Upon successful authentication, MonoCloud will redirect your users back to your application.
Once a user is successfully authenticated, the component instead renders the Logout button. On clicking this button, the user will signed out from your application.
Configure the Session Provider
- Create a new file
session-provider.tsxwithin the components folder and add the following code:
'use client';

import { SessionProvider } from 'next-auth/react';

export { SessionProvider }
This component re-exports the SessionProvider from next-auth/react with the use client directive (required when using the AppRouter).
- Update the contents of the file
layout.tsxin the app folder of the project with the following code:
import type { Metadata } from 'next'
import { Inter } from 'next/font/google'
import './globals.css'
+import { Session } from 'next-auth'
+import Header from '@/components/header'
+import { SessionProvider } from '@/components/session-provider'

const inter = Inter({ subsets: ['latin'] })

export const metadata: Metadata = {
  title: 'Create Next App',
  description: 'Generated by create next app',
}

export default function RootLayout({
  children,
+  session,
}: {
  children: React.ReactNode,
+  session: Session;
}) {
  return (
    <html lang="en">
+      <SessionProvider session={session}>
        <body className={inter.className}>
+          <Header />
          {children}
        </body>
+      </SessionProvider>
    </html>
  )
}
The code imports the custom SessionProvider component and enables instances of useSession() to share the session object across components using React Context. The provider also takes care of keeping the session updated and synchronized between different tabs/windows.
The code also injects the Header component on the top of each page.
Configure the Authentication Handler
- Inside your project's
src/app/apifolder create a new folder namedauth. - Inside the folder
auth, create a new folder named[...nextauth]. - Inside the newly created folder,
[...nextauth], create a file namedroute.tsand add the code below:
import NextAuth, { NextAuthOptions } from 'next-auth';

export const authOptions: NextAuthOptions = {
    providers: [
      {
        id: 'monocloud',
        name: 'MonoCloud',
        type: 'oauth',
        wellKnown: `${process.env.MONOCLOUD_ISSUER}/.well-known/openid-configuration`,
        clientId: process.env.MONOCLOUD_CLIENT_ID,
        clientSecret: process.env.MONOCLOUD_CLIENT_SECRET,
        authorization: { params: { scope: process.env.MONOCLOUD_SCOPES } },
        idToken: true,
        checks: ['pkce', 'state'],
        userinfo: {
          async request(context) {
            return await context.client.userinfo(context.tokens.access_token!);
          },
        },
        profile(profile) {
          let name: string;

          if (profile.name) {
            name = profile.name;
          } else if (profile.given_name && profile.given_name) {
            name = profile.given_name + ' ' + profile.family_name;
          } else {
            name = profile.given_name ?? profile.preferred_username;
          }

          return {
            id: profile.sub,
            name: name,
            email: profile.email,
            image: profile.picture,
          }
        }
      }
    ]
};

const handler = NextAuth(authOptions);

export { handler as GET, handler as POST };
The handler function is responsible for managing authentication requests with the MonoCloud provider.
Run and Access the Application
You can now run your application by executing the following command:
npm run dev
You can now access your application from your web browser. Go to http://localhost:3000 to access your application.
When you click on the Login button, you will be redirected to the MonoCloud login page. After successfully completing the sign-up process, you will gain access to the application.
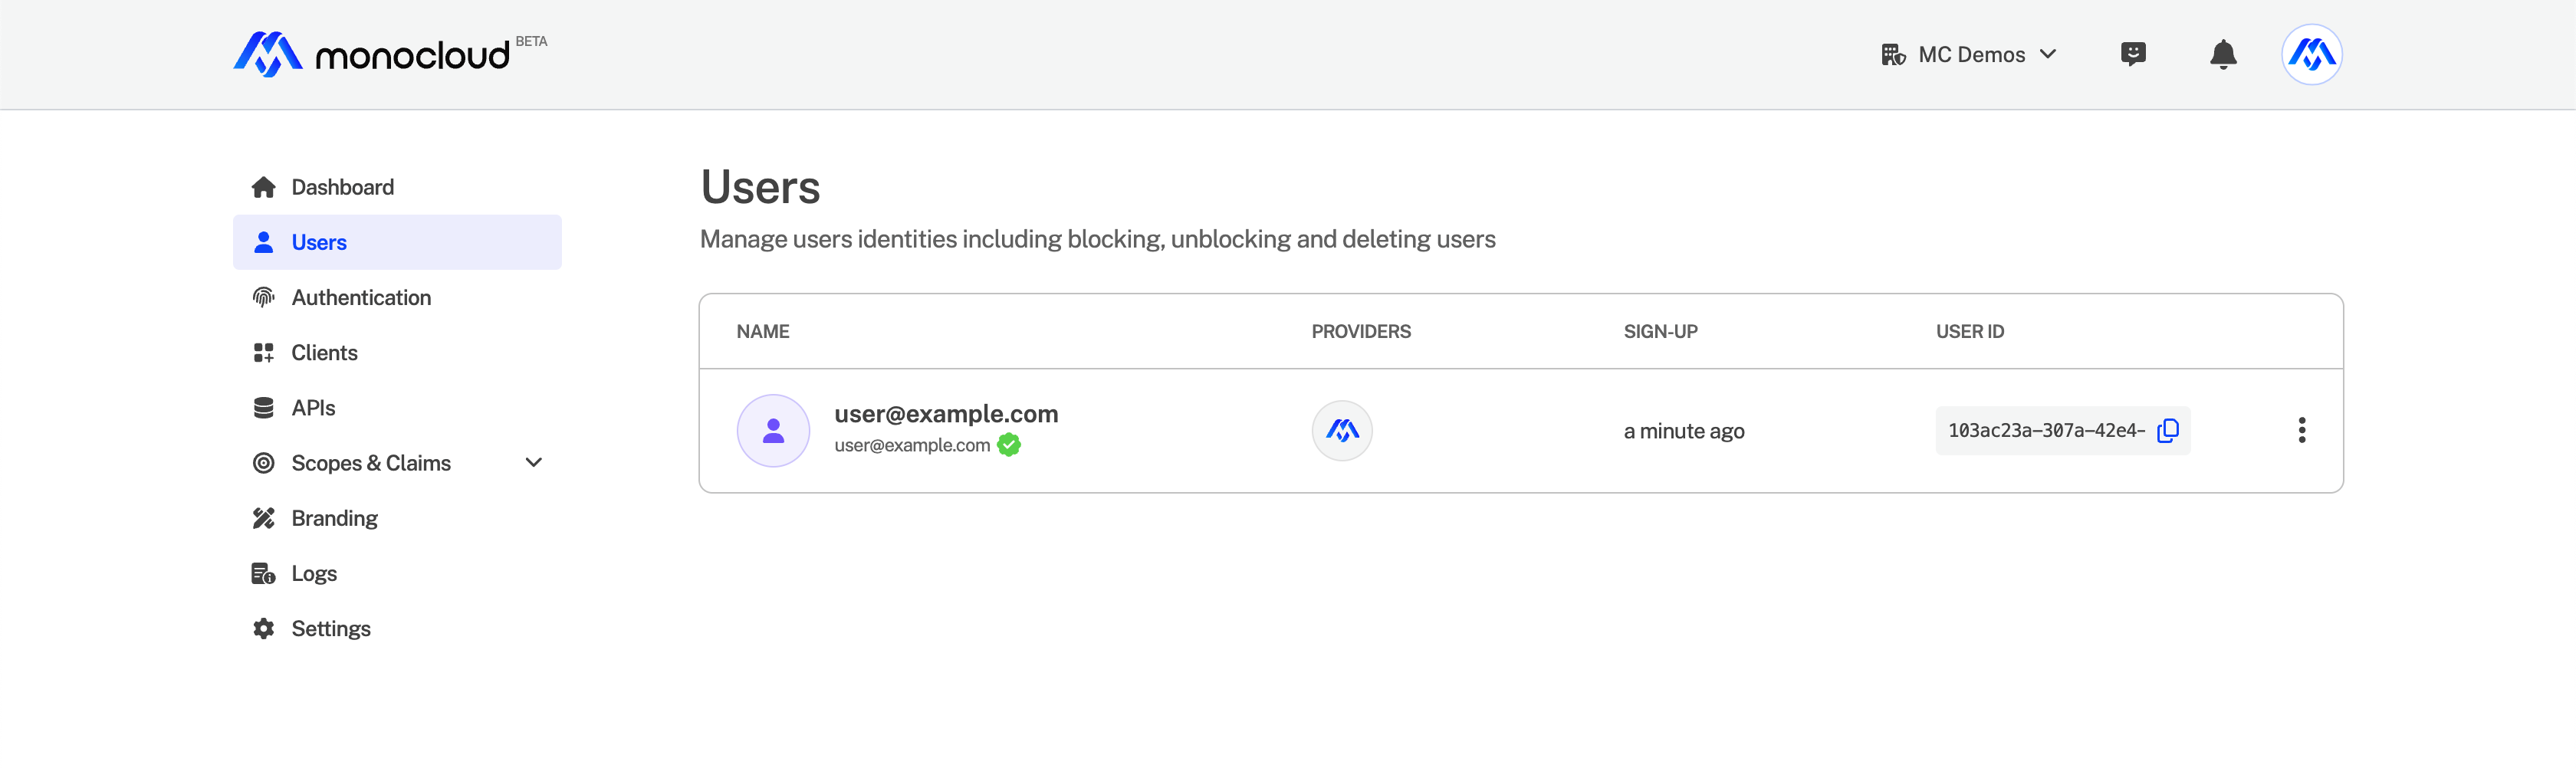
You can view the registered users from the Users section in the MonoCloud Dashboard.
Well done! You have now secured your Next.js application using MonoCloud.